Assigning Controls
Assigning lets you map a plugin parameter to a physical control — an encoder, a footswitch, a MIDI controller, or a Control Chain device — so you can tweak it live without opening the Web UI.
Creating an assignment

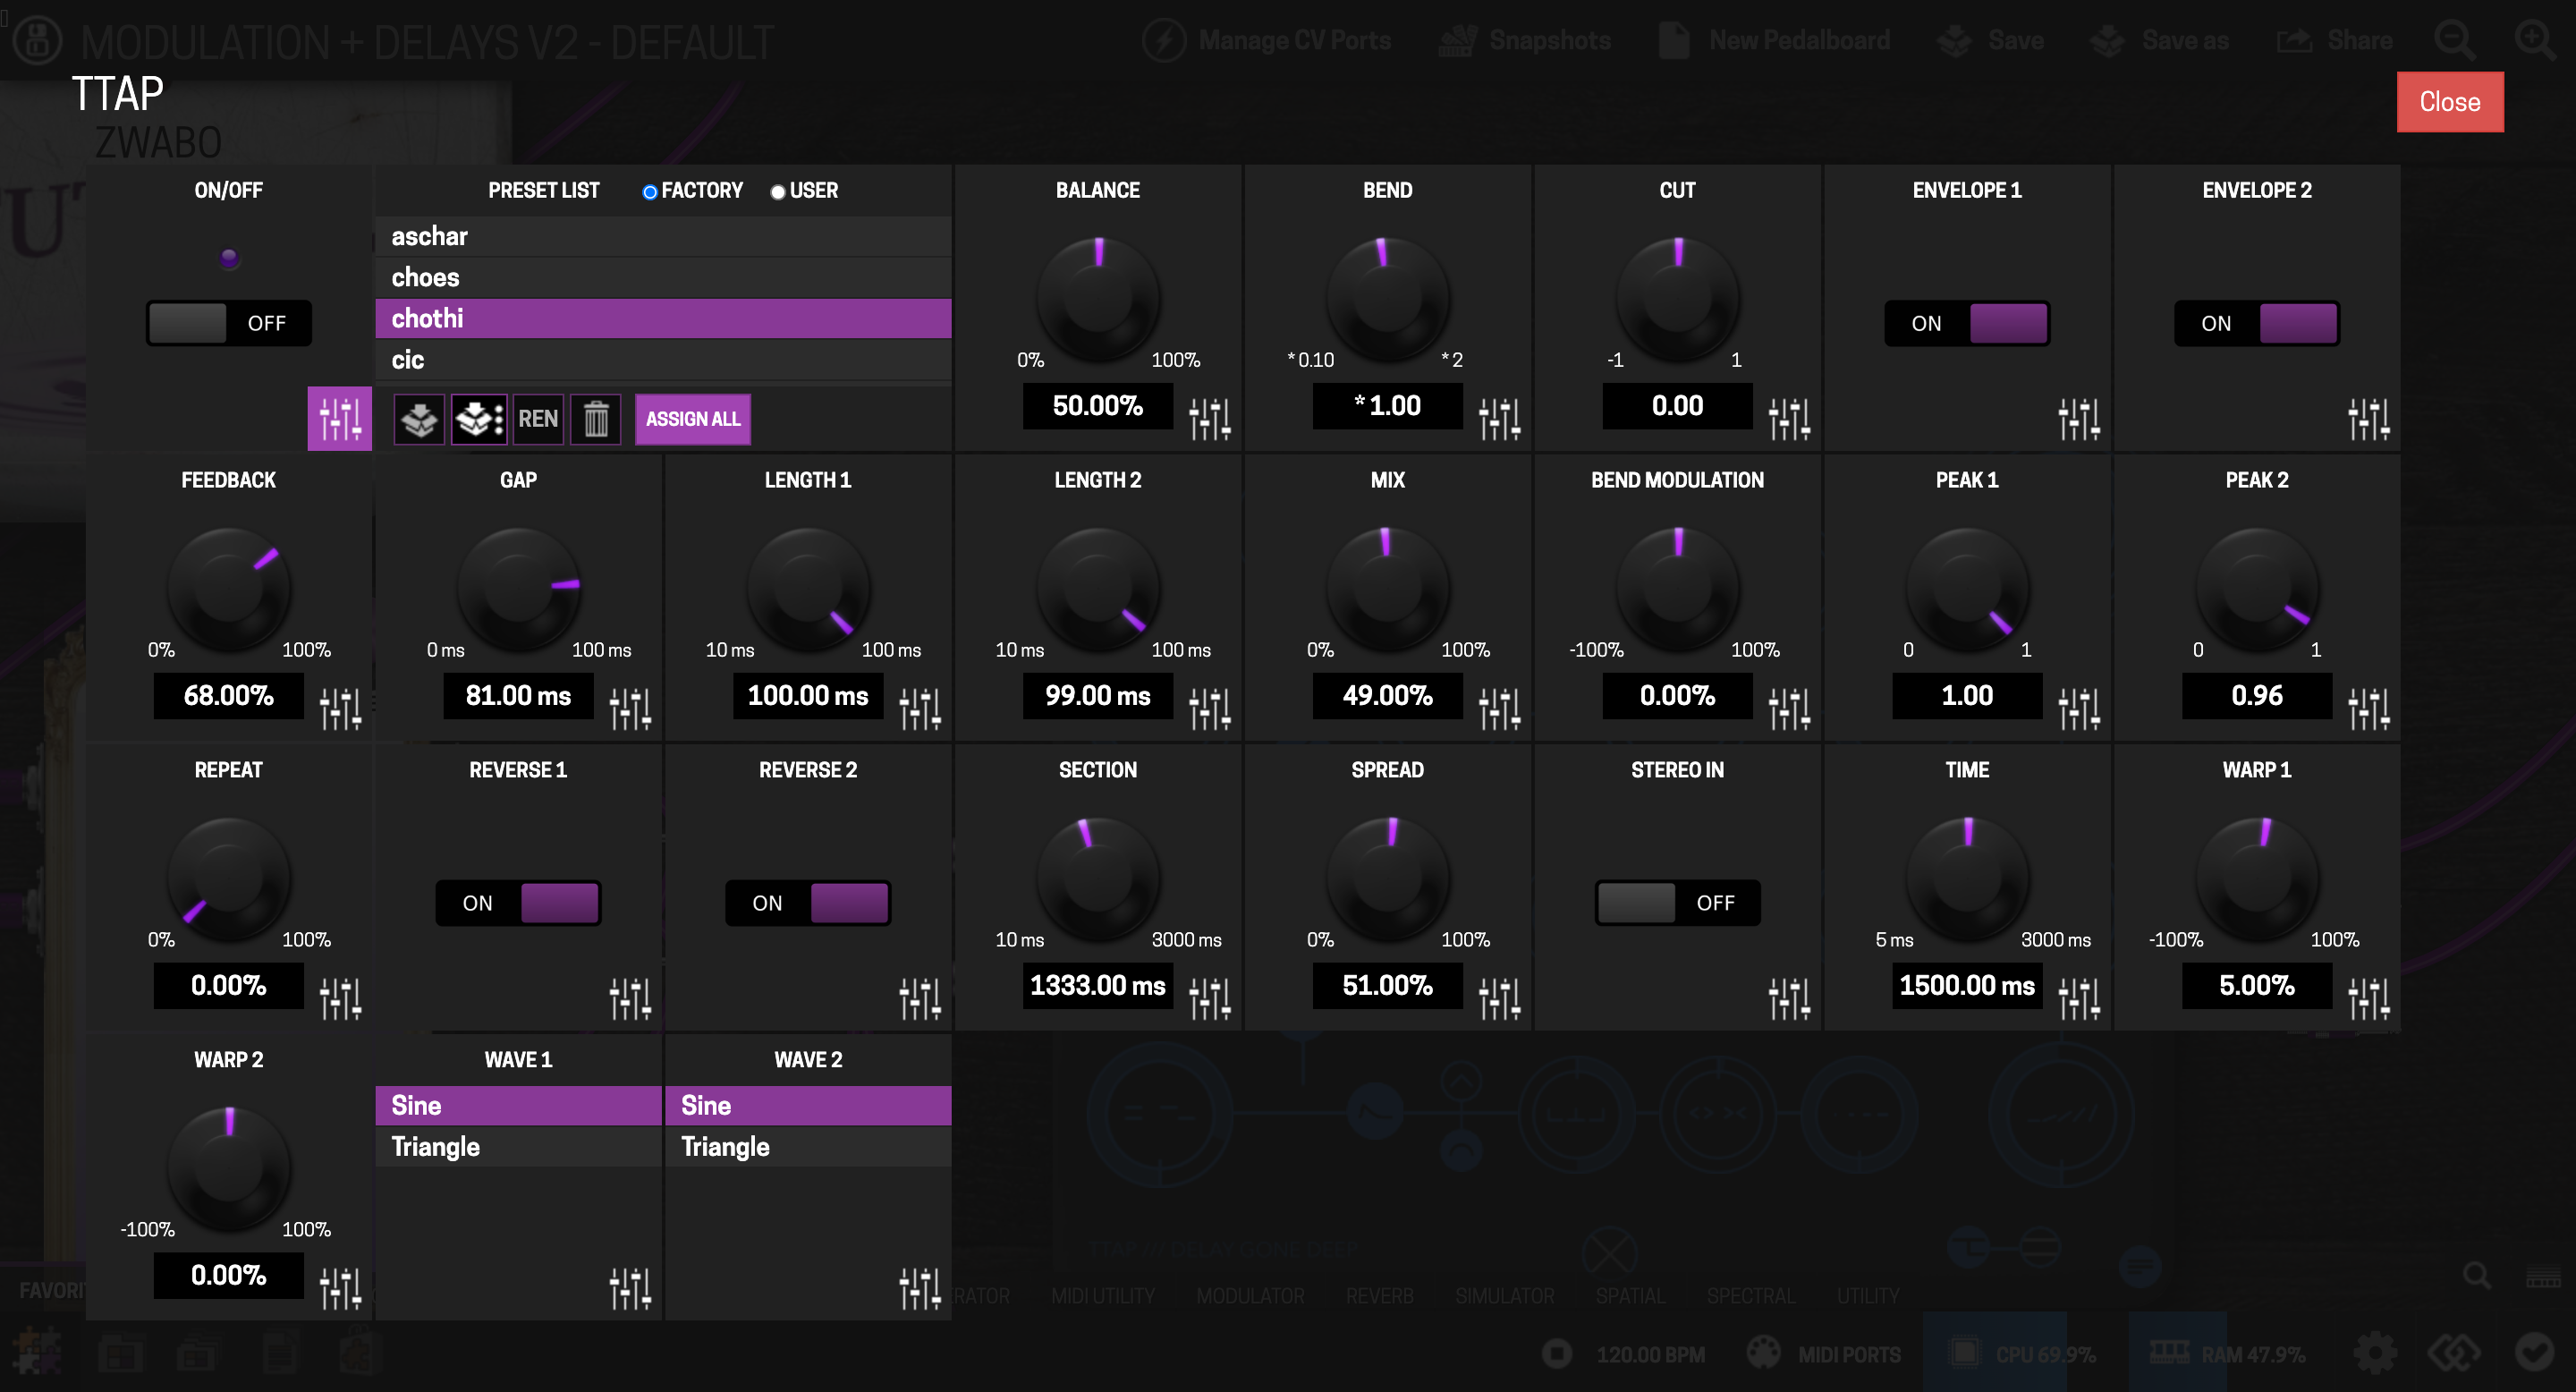

- Click the gear icon above the plugin whose parameter you want to assign.
- Click the assign icon (bottom-right corner of the parameter box). This opens the assignment dialog.
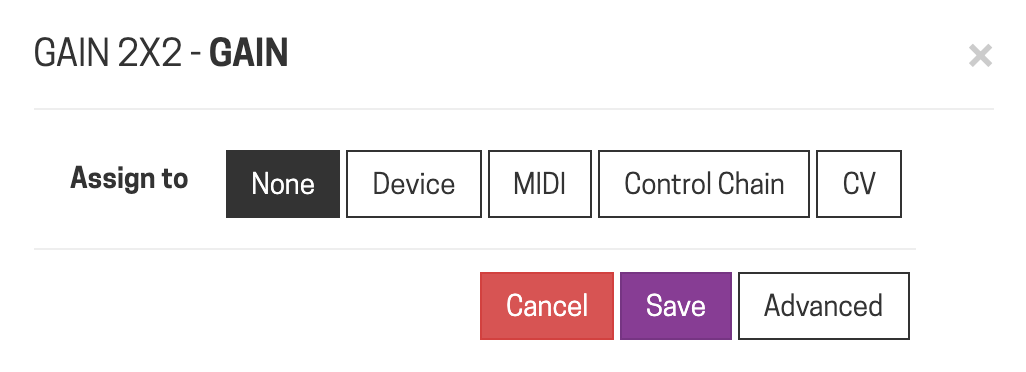
- Pick the tab for where you want the control to live: Device, MIDI, Control Chain, or CV.
Not every parameter can go to every interface type — the dialog only shows valid options for that parameter.
Assigning to the Dwarf's own controls
Select the Device tab. The Dwarf uses a pagination system: 8 main pages, each with 3 encoder sub-pages, so the three encoders can each hold up to 24 parameters and the footswitches up to 8 each.
- Select the control you want to assign to, and — for encoders — the sub-page.
- Click Save.
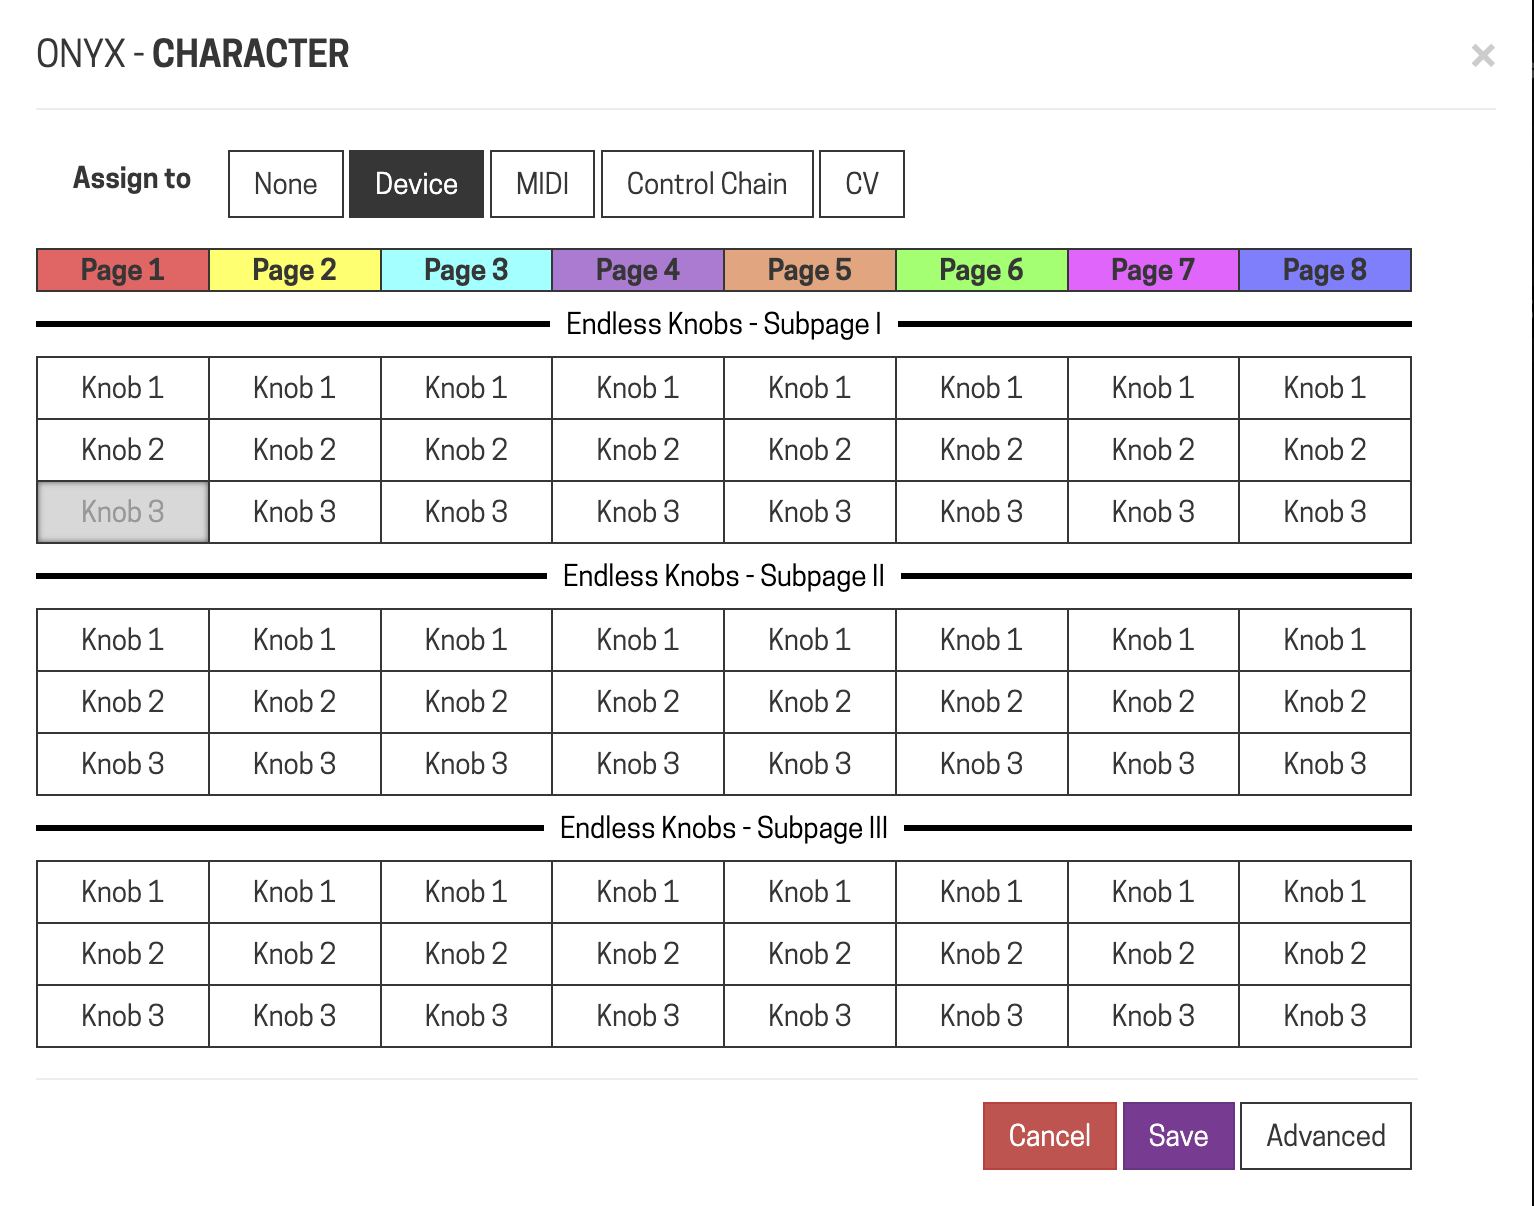
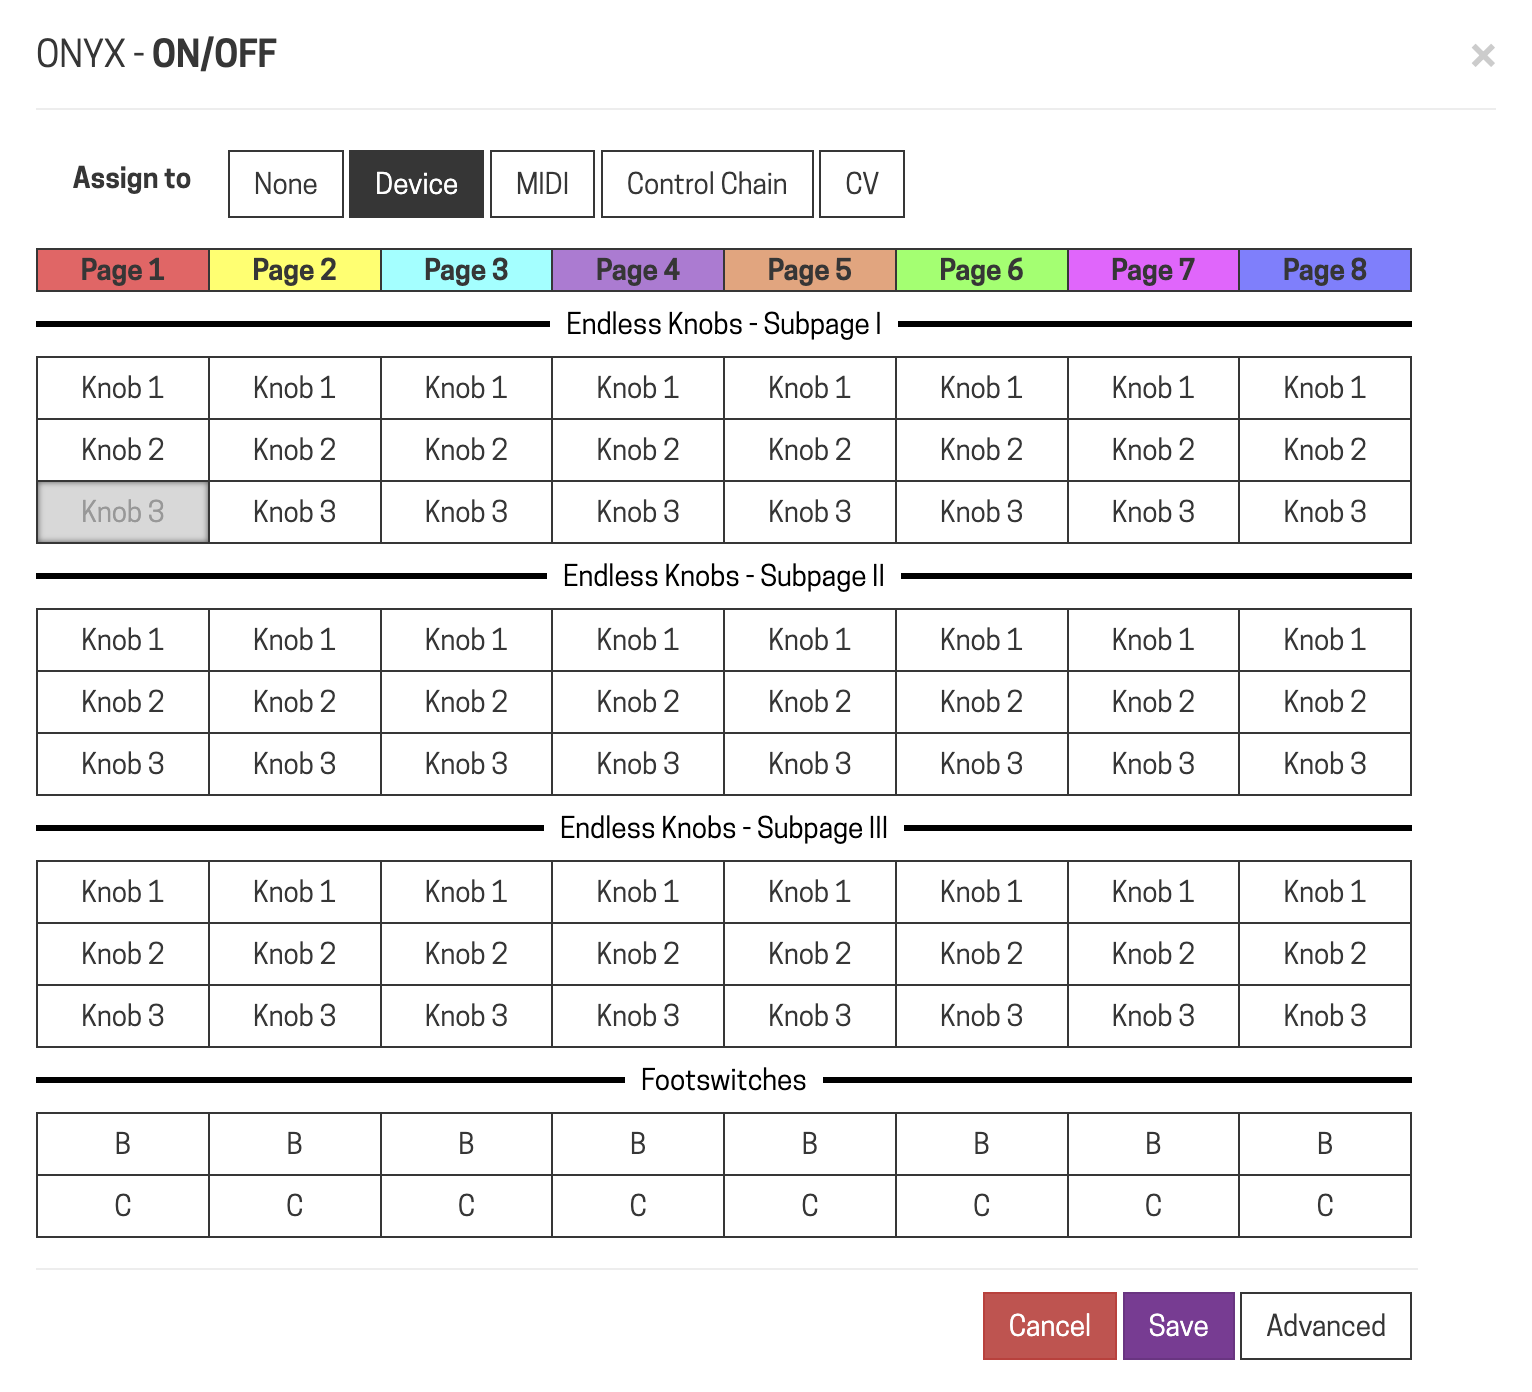
See Controls Overview for how pages and sub-pages work on the device itself.
Assigning to a MIDI controller
- Select the MIDI tab and click Save.
- Move the control on your MIDI controller (turn the knob, press the button) — the assignment locks in as soon as the Dwarf sees the MIDI message.
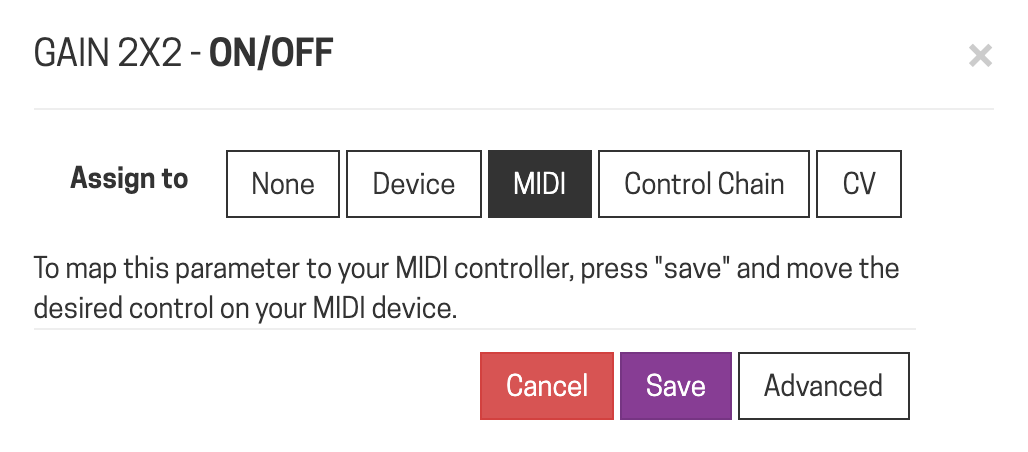
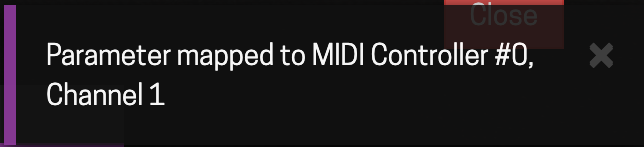
This works for controllers connected via the MIDI input port or the USB-A host port.
Assigning to a Control Chain device
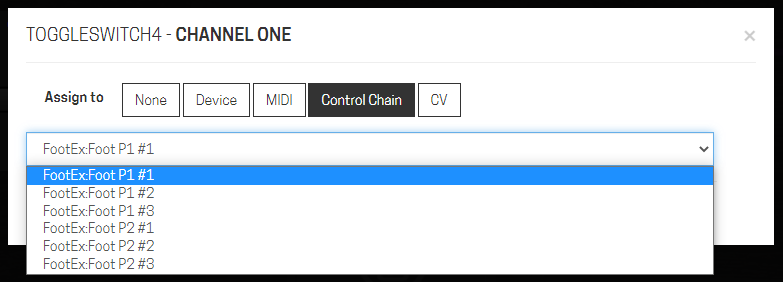
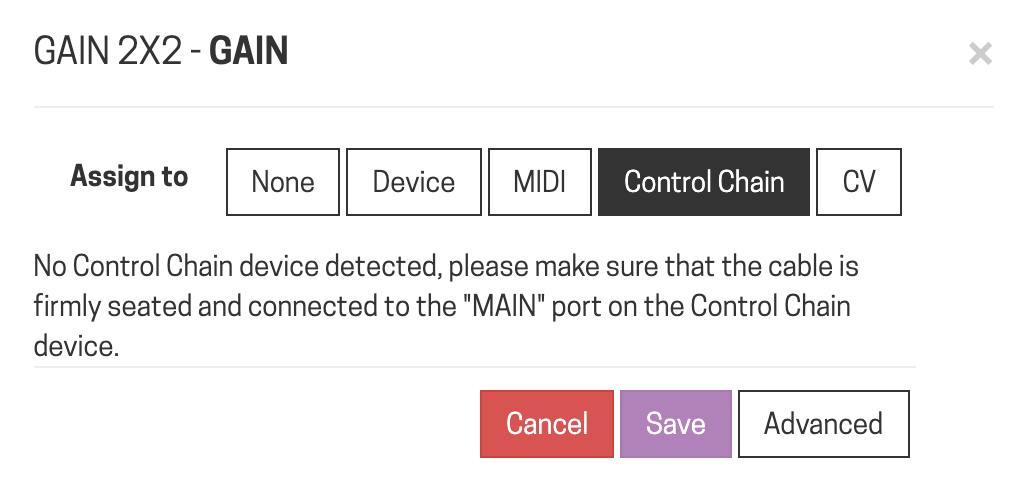
Select the Control Chain tab and pick the interface from the dropdown. If nothing's listed, no Control Chain device is currently connected.
Assigning CV
CV assignment is a two-step process:
- Enable a CV output from a CV-generating plugin already in your pedalboard (click the CV ports button, check the outputs you want, label them).

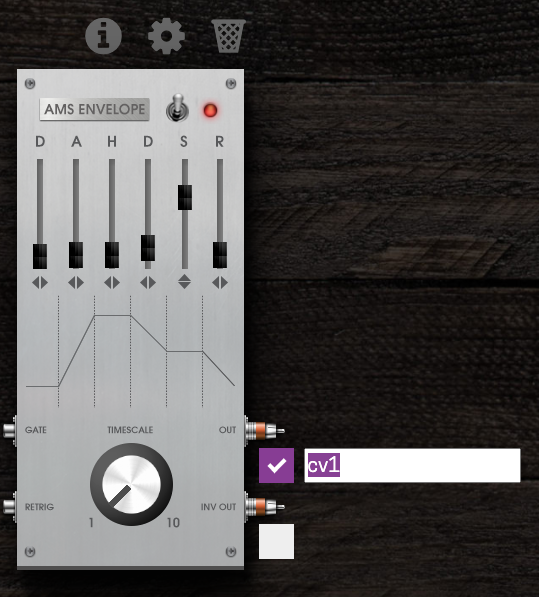
- In the target parameter's assignment dialog, select the CV tab and pick the labeled output.
For shaping the CV signal itself and driving several parameters from one source, see Using CV (Control Voltage).
Next: Snapshots